")

")


Beginner guide to editing in Lightroom
This post may contain affiliate links which means I may receive a commission for purchases made through links.
I only recommend products that I have personally used long term. Learn more on my Privacy Policy page.
Lightroom is Adobe’s photo editing software (you’ve probably heard of Photoshop) that works on desktop and mobile and allows you to edit RAW or JPEG photos like (or as) a professional.
Lightroom is one of the main tools I use in my photography business. If you’re just starting out, it can feel overwhelming with sliders everywhere and terms that don’t make much sense at first.
The good news? You only need a few tools to start editing strong, clean photos.
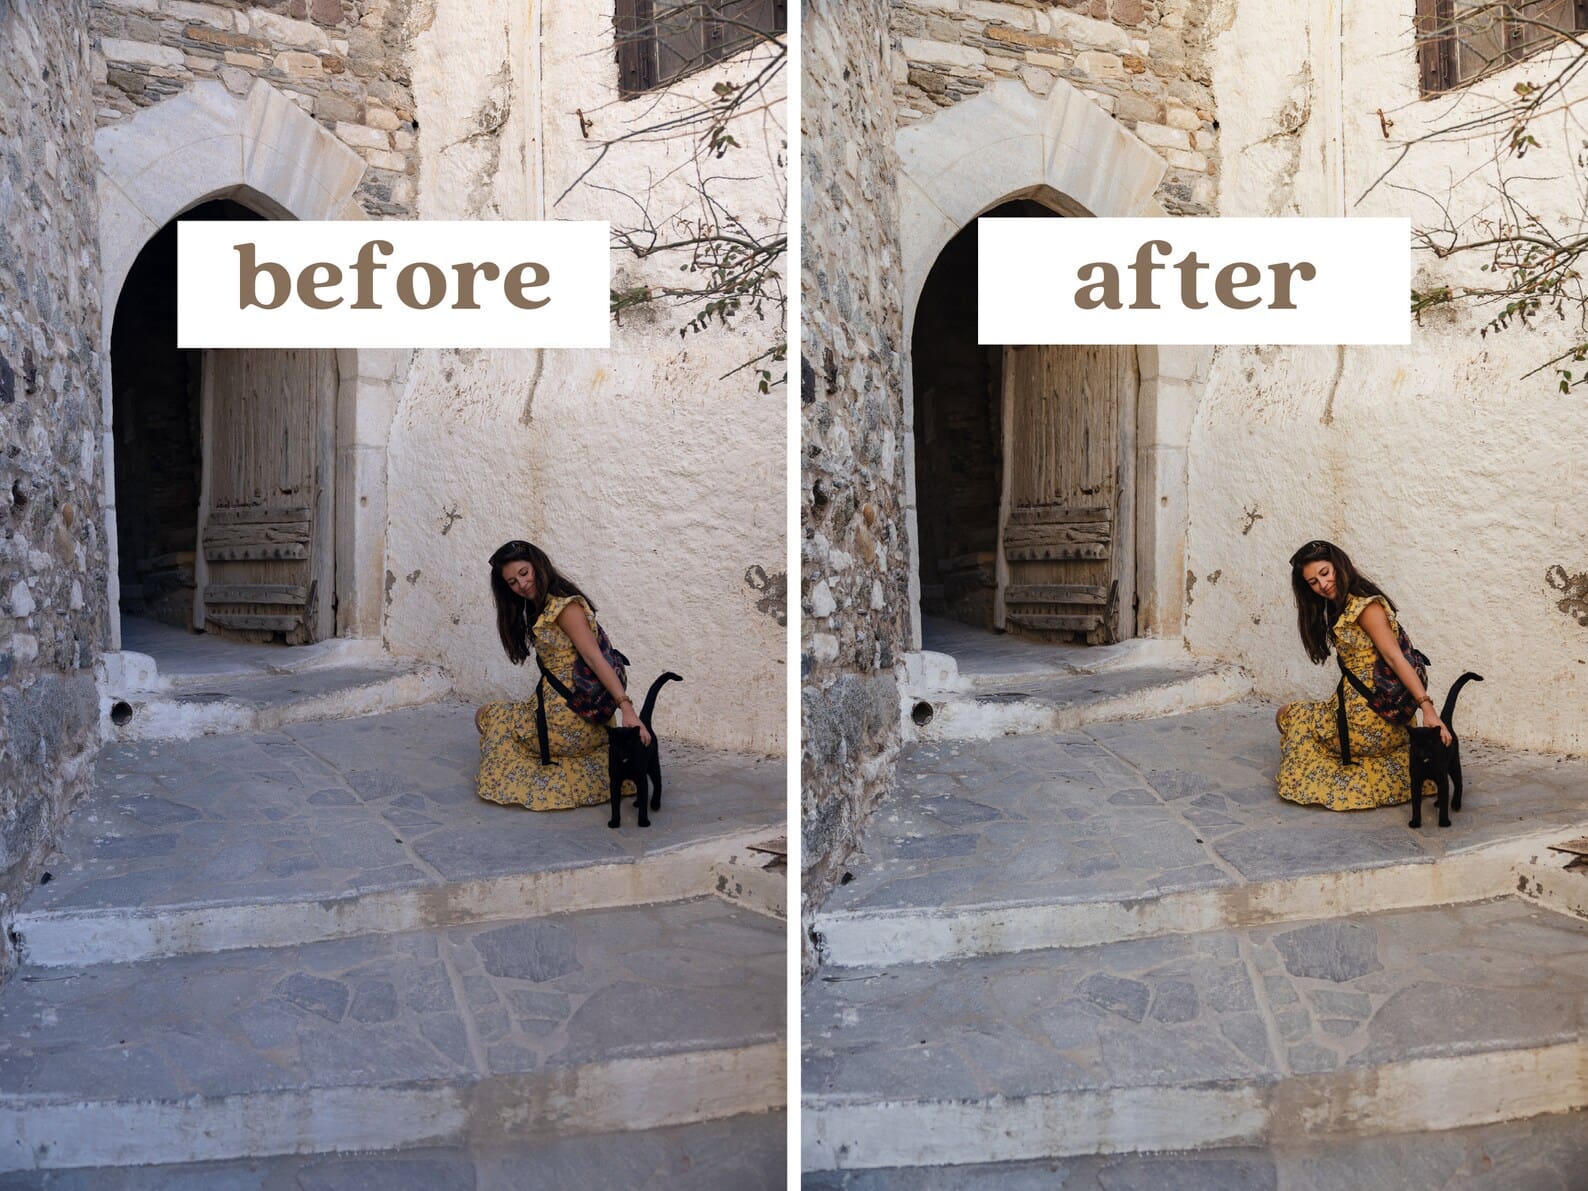
This beginner guide walks you through exactly how to edit a photo in Lightroom step by step.
Lightroom mobile VS. Lightroom on desktop
As a professional photographer, I primarly use Lightroom on my desktop, but Lightroom Mobile is also a big part of my workflow.
I use Lightroom on my iMac for my bulk edits, uploading and delerivering and a majority of my work.
I use Lightroom Mobile to cull my photots, to refine my edits and edit my personal iPhone photos.
Step-by-step how to edit photos in Lightroom
Step 1: Import Your Photos
Click “Import,” choose your folder, and upload your images. Don’t overthink file organization too hard yet. We’ll keep it simple for now.
Step 2: Fix White Balance First
This is one of the simplest yet most important steps in the entire process. White balance alone can completely change the mood of an image.
In the Basic panel:
- Adjust Temperature (warmer = more yellow, cooler = more blue)
- Adjust Tint (green – magenta)
Step 3: Adjust Exposure
Adjust exposure until your subject feels properly lit, not blown out, not muddy.
Step 4: Apply your preset if using
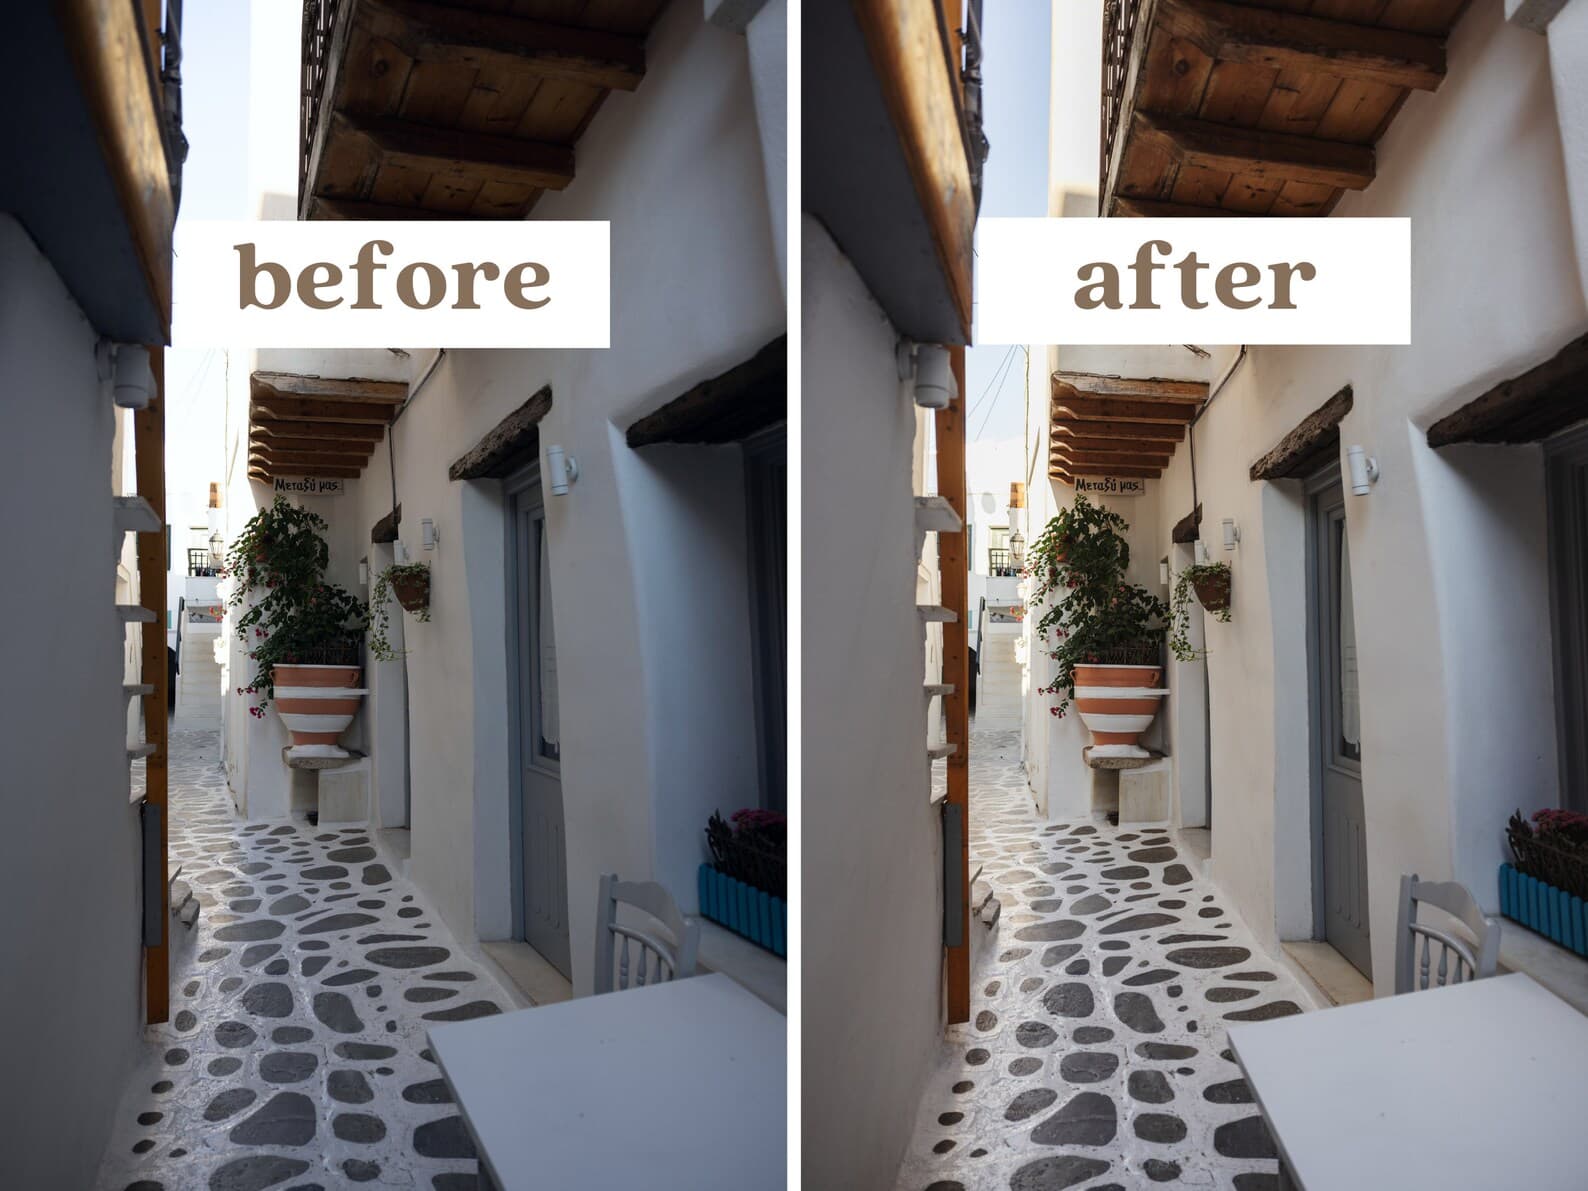
If you’re using a preset, apply it now as your base edit. A preset isn’t magic, but it’s a great starting point.
I apply my preset to every photo to add my ‘base’ editing style, then I adjust each image individually as needed. Starting with the preset that I created helps to keep my look and style cohesive and starts me off with the perfect color palette.
If you get a preset, make sure it’s compatable for whatever type of photo you’re editing. Editing a JPEG will be dramatacially different than editing a RAW photo.
Step 5: Adjust Contrast (Carefully)
Increase contrast slightly to add depth. If your image looks harsh, back it off. You can also play with the whites, blacks, and shadows, which will affect your contrast in different areas.
If the image feels flat, try a small bump in dehaze or vibrance; subtle adjustments go a long way.
Step 6: Crop & Straighten
Press “R” for crop.
My biggest pet peeve is not having a straight photo, despite what the latest trends are. I always straighten the horizon or walls that need an adjustment. Cropping alone can make a photo look dramatically better.
I also like to utilize the auto tool in the geometry tab if I’m editing with a lot of straight lines. It isn’t always perfect, but usually a good starting point.
Step 7: Sharpen & Clean Up
If there’s anything I need to remove, like a distracting sign or a phone in a pocket, I’ll click the remove tool, which is pretty amazing and accurate in 2026.
Beginner Lightroom shortcuts
One of my favorite things is to utilize Lightroom keyboard shortcuts to make my process go even faster. When you’re editing such a large number of photos, shortcuts really help!
- R = Crop
- Q = Spot removal
- Z = Zoom
- P = Flag
- Command + Z = Undo
- 1-5 = star rating
My favorite beginner Lightroom hacks
- Previous vs. Sync (copy edits to different photo): When editing similar photos, using ‘previous’ copies settings from the last image. ‘Sync’ copies across multiple images – watch out for masks and cropping though!
- Use reference photo for consistency: I love using this to compare photos to see if my editing is consistent. I’ll set a reference photo from an image that I like the editing of, and then scroll through the rest of the gallery to see if everything looks consistent side by side.
- Quick Develop for bulk adjustments: Maybe my favorite Lightroom tool. This is perfect for doing bulk edits. I’ll select the images that need the exposure bumped up and do it in one click.
Advanced Lightroom tools (when you’re ready)
Once you’re confident with the main panel, these tools can help add style to your edits even further. Take your time and try to focus on one at a time so you don’t overwhelm yourself.
- Masking – I use masking on most photos. Either to darken/lighten the background, or I love this feature to brighten/darken and adjust people’s faces.
- Color Grading – most presets will have color grading already added, but this is a great way to add style and coloring effects to a photo
- Effects (texture, clarity, vignette) – I don’t use this one as much, but playing around with the effects can alter the texture of your image.
- Detail panel for noise reduction – If you were photographing in a darker setting, there’s a chance your image could have some ‘noise.’ I love using the noise reduction tool to get rid of this and make it look more high-quality.
Common beginner Lightroom mistakes
- Over-saturating colors
- Over-sharpening skin
- Skipping white balance
- Cranking every slider at once
If your photo starts looking unnatural, dial it back. Clean edits almost always win.
Final tips
Lightroom takes practice. Focus on small adjustments, keep your edits natural, and resist the urge to over-edit. Master the basics first, and everything else builds from there.
It took me a long time to feel confident in a workflow that worked for me and my photography business. Hopefully, this helps you pick up some tricks learning Lightroom and photo editing!
Ready for the next step?
→ See my full professional Lightroom workflow
Have Lightroom or editing questions? Pop them into my Facebook Group – Photography 101
Next steps for beginner photographers:


Hi! I'm Kelsey!
My photography journey started in 2009 when I fell in love with documenting moments and capturing people in their element.
14 years ago, I moved to the amazing little mountain town of Breckenridge, Colorado, from Raleigh, North Carolina.
Wild to say I've photographed over 300 weddings and portrait sessions all over. I started this small but mighty team of local mountain photographers to capture whatever season of life you're in.
15+
wedding destinations
14+
years in Breckenridge
50+
pets photographed
300+
photo sessions


@greenhousecreativestudios


")
We may use cookies to better your experience. Scrolling this website confirms that you have read and agreed to our privacy policy and terms of use
©2026 Greenhouse Creative Studios
close x